Packing a whole home at once is overwhelming.
Packing one room at a time with a clear plan? That’s manageable.
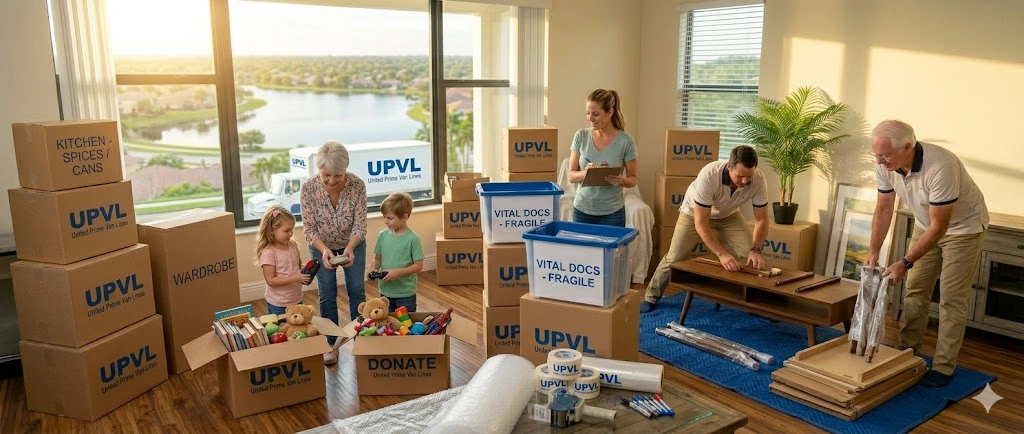
When you break your move into zones – kitchen, bedroom, garage and so on – you stop feeling like you’re drowning in stuff and start making steady progress. Each room has its own packing logic, mistakes to avoid and smart shortcuts that keep your things safe and your brain calm.
In this guide, we’ll walk through how to pack three of the most important (and tricky) spaces in your home:
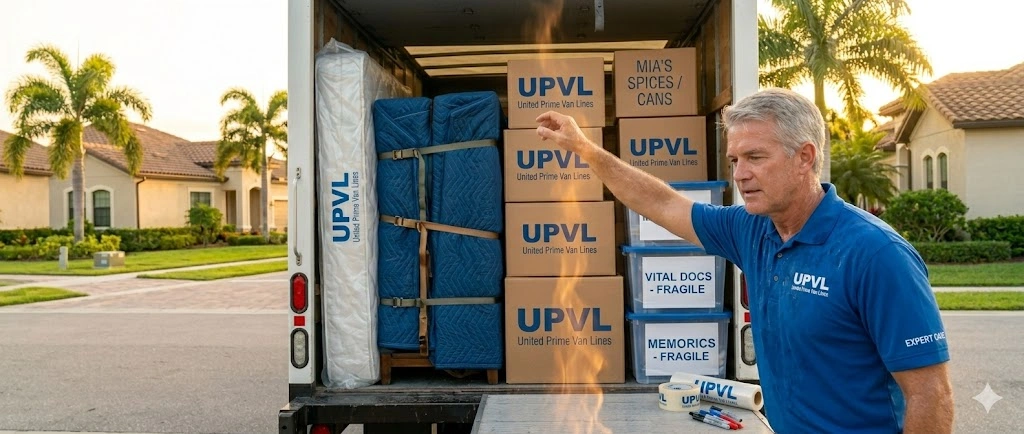
You’ll get simple, practical steps, not perfection rules – plus tips on when it makes sense to bring in our crew at United Prime Van Lines to speed things up and protect the tough stuff.
Before we dive into each room, a few universal rules will save you from chaos later:
Don’t mix kitchen and bedroom in the same box “just because it fits.” You’ll hate yourself on unpacking day.
Room + key contents + “fragile/heavy” is enough:
“Kitchen – pans & pots – heavy”
“Bedroom – nightstand items – fragile”
Have three bags/boxes ready in each room: donate, trash, recycle. Don’t move things you never use.
Garage and storage spaces can be done first. Kitchen and bedrooms are closer to moving day.
Now let’s go room by room.
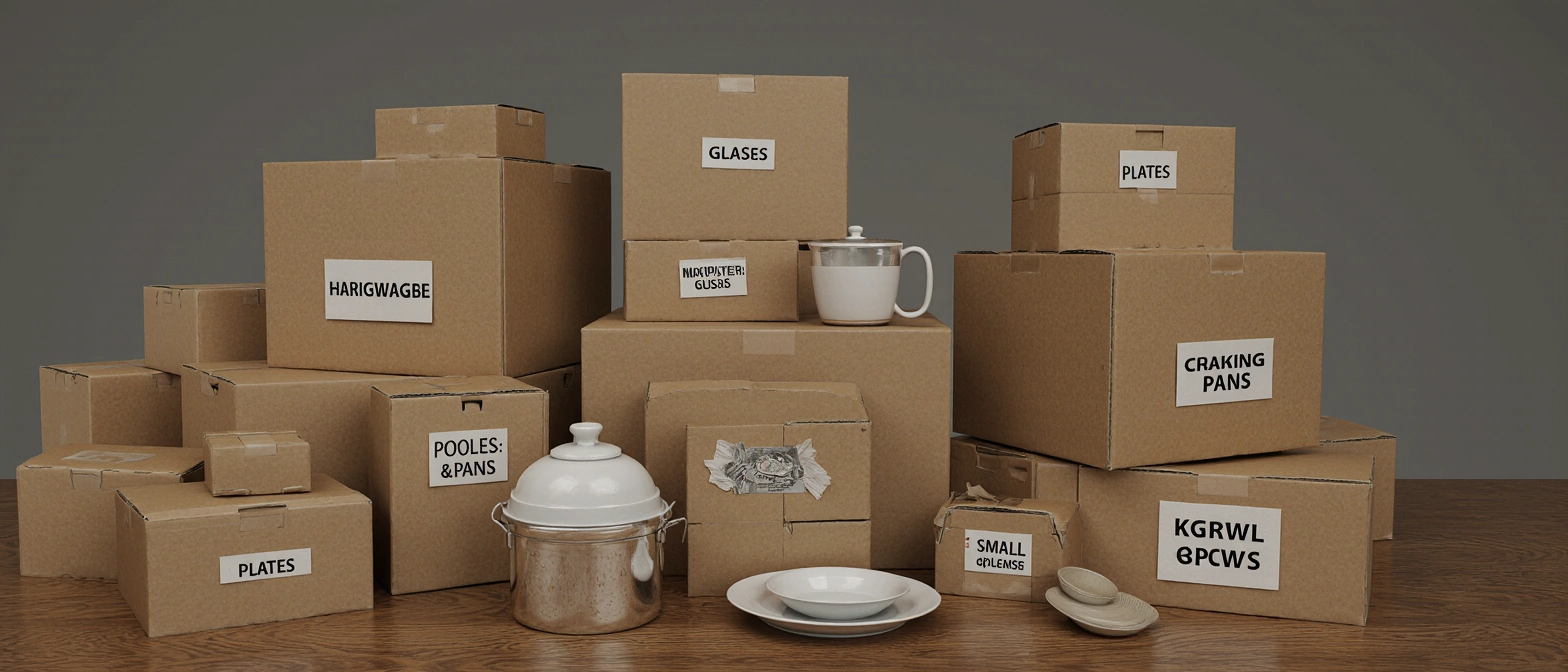
The kitchen is usually the slowest and most fragile-heavy room in the house. It’s a mix of glass, odd shapes, sharp edges and heavy items.
Don’t start with every cabinet at once. Move in this order:
holiday dishes, big serving platters, specialty baking tools.
you can pack these weeks before moving day.
spare paper towels, extra spices, extra cleaning products.
plates, a couple of pans, daily utensils and cups.
leave just enough to live on; pack the rest.
a minimal set of dishes, utensils and one pan, which will go into your essentials box.
Plates & bowls:
Glasses & mugs:
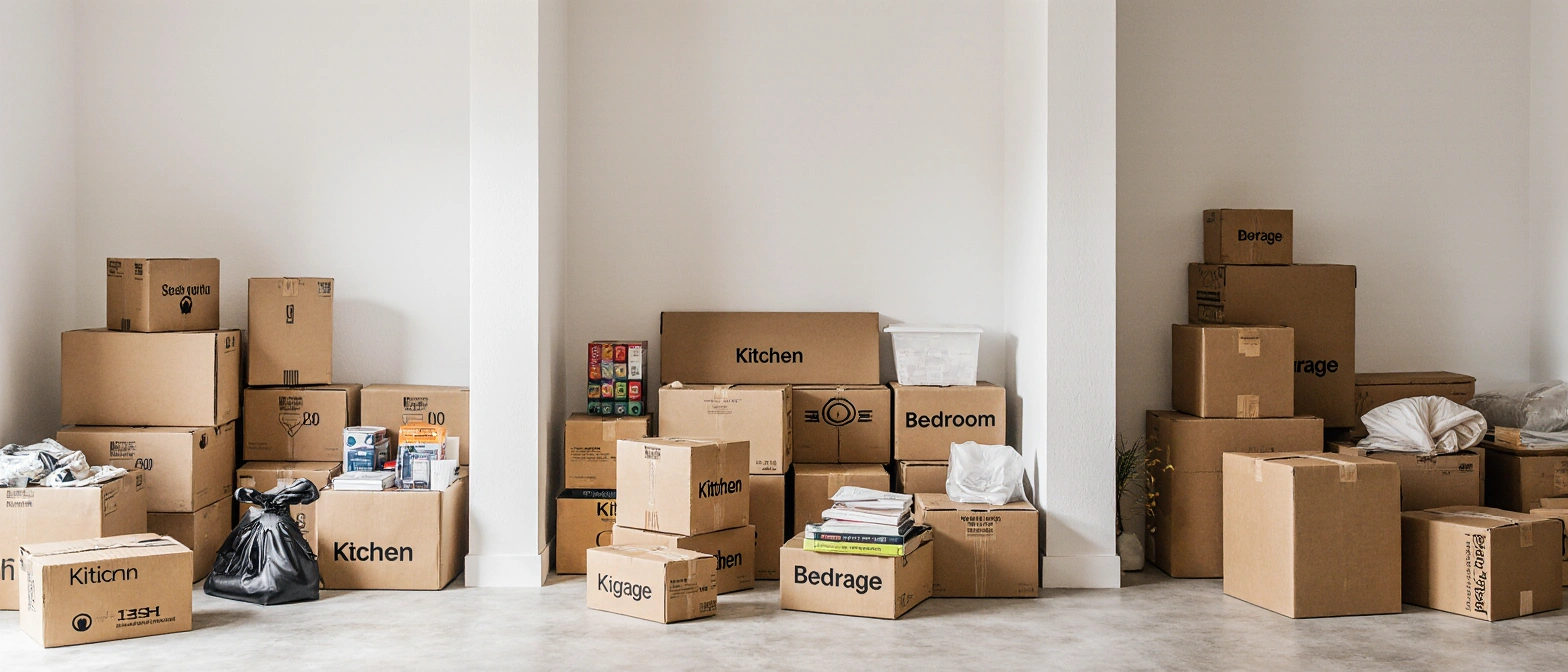
Label these boxes:
“Kitchen – plates”
“Kitchen – glasses & mugs – very fragile”
Heavy kitchen boxes should never be oversized. You want them liftable and sturdy, not heroic.
Small appliances (blender, toaster, coffee maker):
Food:
If this all sounds like a lot, you can always ask our crew to handle the kitchen packing for you. We do this every day, and we know how to pack so things arrive in one piece instead of as a puzzle of broken glass and loose lids.
The bedroom is less about fragile items and more about comfort and personal stuff. If you pack it well, your first night in the new place feels like a real home, not a storage unit.
This gives you visible progress without disrupting daily life too soon.
You don’t have to fold every item into a perfect cube. Use different containers for different types of clothing:
Perfect for heavy items like jeans, shoes, and books. Wheels do the work.
For hanging clothes: just move hangers straight in.
Great for suits, dresses and anything that wrinkles easily.
For folded T-shirts, sweats, pajamas, gym wear.
Good for bulky bedding and seasonal clothes, especially if going into storage.
Keep a small set of outfits aside for your “essentials” box or suitcase – enough for 3–5 days.
Nightstand:
This is where your most personal stuff usually lives – chargers, medicine, favorite book, glasses, etc.
“Bedroom – nightstand – open first”
Mattress and bed frame:
If you’d prefer not to wrestle with disassembling and carrying beds, you can have our team handle disassembly, loading and reassembly so your bed is ready to sleep in on night one.
Some things shouldn’t go in the truck. Pack these to travel with you:
Use a small box or zipper pouch and keep it with you, not buried in a random bedroom box.
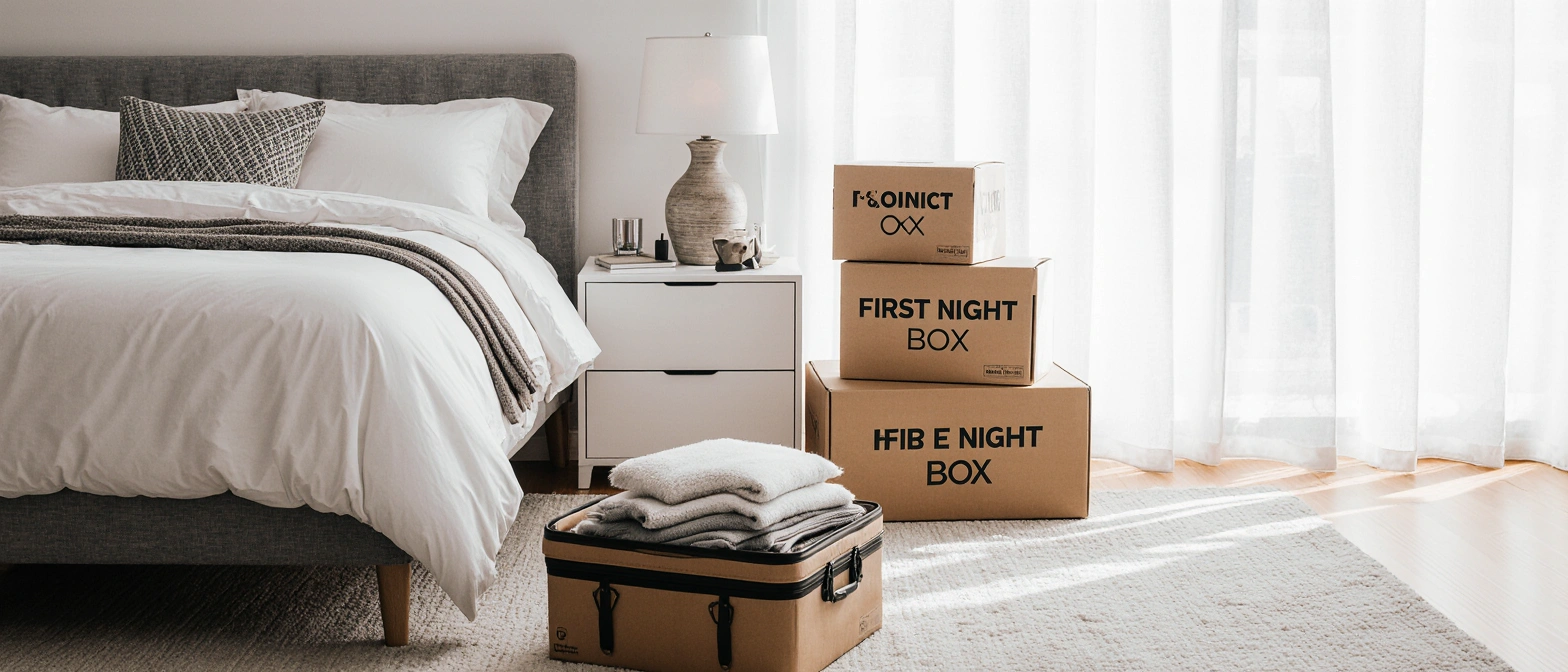
This one will save you:
Pack one clearly labeled box or bin with:
Label:
“Bedroom – First Night – Open First”
This way, even if you’re too tired to unpack anything else, you can make the bed and crash.
The garage is where all the weird, heavy and awkward stuff lives – tools, paint, sports gear, old boxes, random “I’ll fix it someday” items.
It’s also the room many people leave for last… and then regret it.
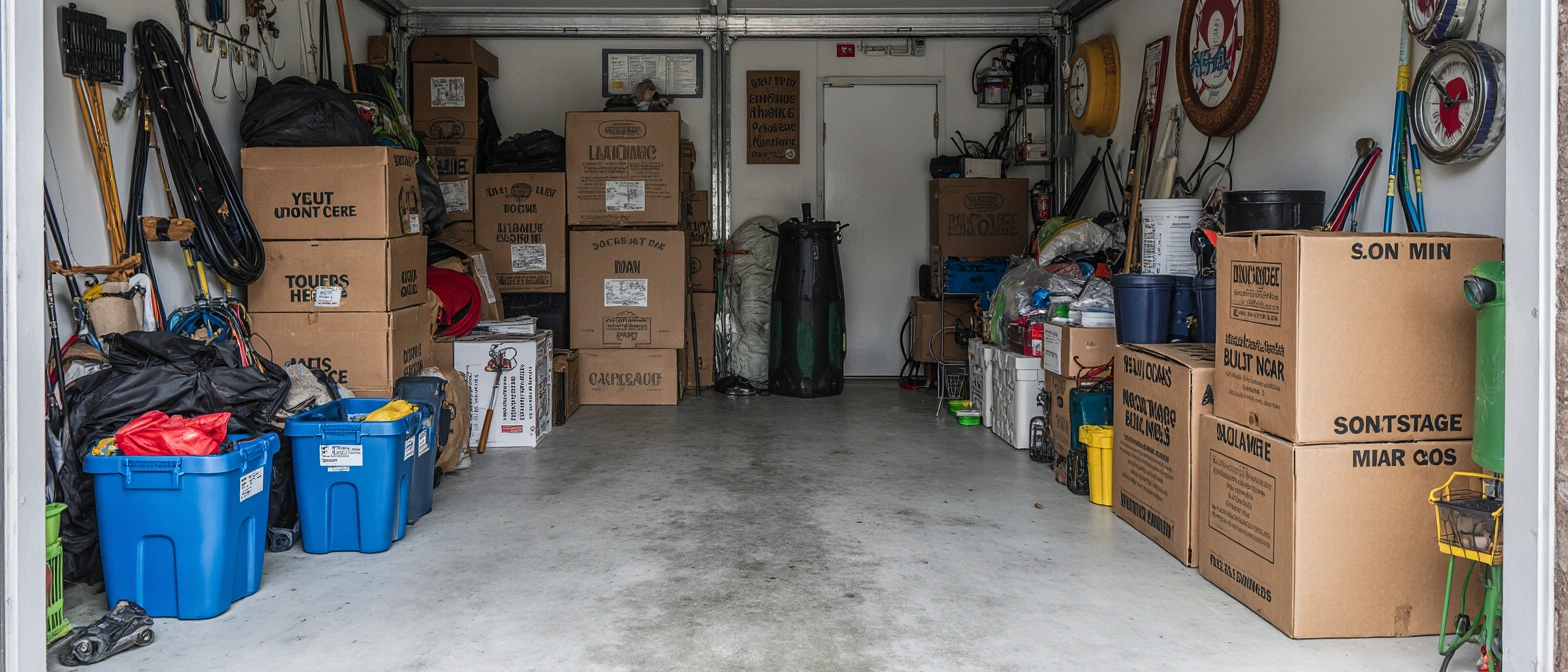
The garage is usually full of things that:
Go through in this order:
old paint cans,
gasoline, propane tanks,
chemicals, pesticides, solvents.
These need special disposal or to be moved in your own vehicle (if allowed and safe).
Moving heavy useless stuff is one of the fastest ways to waste money and energy.
Safety first:
Organization:
Avoid overloading one giant toolbox to the point where it’s dangerous to lift. Several smaller boxes are better.
Label boxes by activity:
“Garage – camping gear”
“Garage – biking gear”
“Garage – kids’ sports gear”
This makes it much easier to find what you need in the new place.
If you already keep decor in plastic bins, you’re ahead. If not:
Anything that will go back into storage in your new place can be packed tightly and clearly labeled, so those boxes can go directly to basement/attic/garage again.
Remember: many garage items are heavy.
If you want help in the garage, this is a place where our crew can save you a lot of time and back strain. We’re used to handling awkward items, consolidating gear and making sense of “organized chaos.”
Here’s a simple, realistic order that works for most homes:
Garage and storage areas
Seasonal bedroom items (off-season clothes, extra bedding)
Rarely used kitchen items
Most of the kitchen
Remaining bedroom items (except daily essentials)
Everyday kitchen dishes (keep just enough until the last day)
Nightstand items and clothes for the next few days
Final sweep of garage and leftover items
Pack your bedroom and kitchen essentials box
Strip and bag the mattress
Keep personal valuables and documents with you
Room-by-room, box-by-box, you’ll see steady progress instead of chaos. And at any point, if you feel like it’s too much, our team at United Prime Van Lines can step in to help with packing, heavy lifting, or the entire move from door to door.